Having been in Spain for quite some time, I always admired the chefs effortlessly slicing ham in restaurants. Recently, I finally decided to bring home a whole Iberian ham and try slicing it myself to achieve “ham freedom”! At first, it was a bit overwhelming, but after some research, I found that once you master the method, slicing ham at home isn’t [that difficult Spanish ham deboning process]. Today, I’ll share my complete beginner’s process for slicing ham at home, hoping to help others who want to try it as well!
Preparation: To do a good job, one must first sharpen their tools
To properly slice a whole ham leg, a reliable set of tools is essential. Don’t try to use kitchen knives from home—that’s a disaster waiting to happen. The basic items I got are:
| Tool | Main Purpose |
|---|
| Ham holder | Secures the ham, ensuring stability and safety while slicing |
| Long ham knife | Thin, flexible blade used for slicing thin pieces |
| Short cleaning knife | Pointed small knife for removing meat around bones and trimming the outer skin |
| Sharpening steel | Keeps the knife blade sharp during slicing |
Tip: The knife must be sharp! A dull knife not only requires effort but also cuts thick, torn meat that ruins the texture.
Opening and Cleaning: The first cut is crucial
Secure the ham firmly on the holder with the hoof facing upward. This way, you start with the main muscle, which is fattier and richer in flavor. If you plan to finish the ham over a long time, consider placing the hoof downward to start slicing from the leaner rear muscle. Use the short knife to cut a deep V-shaped notch along the ankle bone below the hoof. This step is the process of opening Spanish ham, making subsequent slicing easier. Then the key step comes: remove the outer layer of yellow fat and tough skin. This butter layer tastes bitter and must be cleaned off! However, the white fat underneath is a treasure; keep it, as it makes the ham slices juicier. Don’t peel off all the skin at once—cut only what you need to avoid drying the ham.
Slicing Properly: Aim for paper-thin slices
Once you have a clear working surface, switch to the long knife! The slicing motion should be a “sawing” rather than “chopping.” Keep your wrist relaxed and the knife blade parallel to the ham surface, slicing back and forth gently. Each slice should be as thin as possible, ideally semi-translucent so you can see the blade’s shadow. Each ham slice should have a bit of white fat, balancing lean and fat, melting in your mouth and delivering full flavor.
Ham Storage
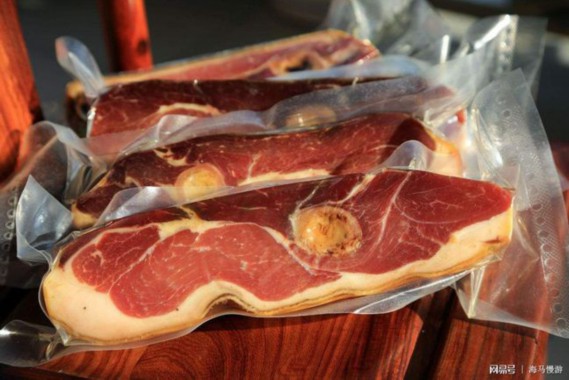
After cutting what you need for the day, how to store the remaining ham? It’s simple: cover the freshly cut surface with the large white fat pieces you sliced off earlier. They act as a natural “cling film,” effectively preventing oxidation and drying of the cut surface. Never tightly wrap the ham directly with cling film; this prevents the ham from “breathing” and may cause off-flavors. After covering with fat, place a clean, breathable cotton cloth or a specialized ham cover on top, and store it in a cool, ventilated place.
Slicing ham at home requires some initial investment and learning, but once you cut your first perfect slice and taste that incomparable freshness, it’s all worth it! This is not only a culinary experience but also a lifestyle pleasure. I hope my sharing encourages you to start your own ham journey!