Since arriving in Spain, my love for Jamón has only grown stronger! Every time I pass by a ham shop, the unique aroma stops me in my tracks. Then, a bold idea popped into my mind: Could I make a ham at home myself?
Though my small family workshop can’t compare to professional ham cellars nor replicate the top-quality Iberian ham flavor, this is more of a fun challenge and experience! After some research and practice, my first “homemade” ham was finally ready, and it actually tastes pretty good! Today, I’ll share the whole process to offer some guidance to fellow enthusiasts who want to take on this challenge.
Preparation: Choosing Ingredients Is Half the Success
To make good ham, you first need a good leg. I went straight to the butcher and ordered a fresh pork hind leg, about 8 kilograms, and it must include skin and bone for full flavor. Besides the pork leg, the most important ingredient is salt—you must use coarse sea salt with large granules, and definitely not fine table salt from your kitchen, as it can make the meat overly salty and bitter.
Core Steps: Curing and Air Drying
The entire process can be divided into three core stages: salting, rinsing, and air-drying. Patience is the most essential ingredient here.
Step One: Salting
Find a container large enough and lay a thick layer of coarse sea salt on the bottom. Place the pork leg inside, then completely bury it with salt, making sure no part of the meat is exposed. A general rule for curing time is one day of curing per kilogram of ham. For example, my 8-kilogram leg was cured solidly for 8 days.
| Pork Leg Weight (kg) | Recommended Curing Time (days) |
|---|
| 6 | 6 |
| 8 | 8 |
| 10 | 10 |
Step Two: Rinsing and Shaping
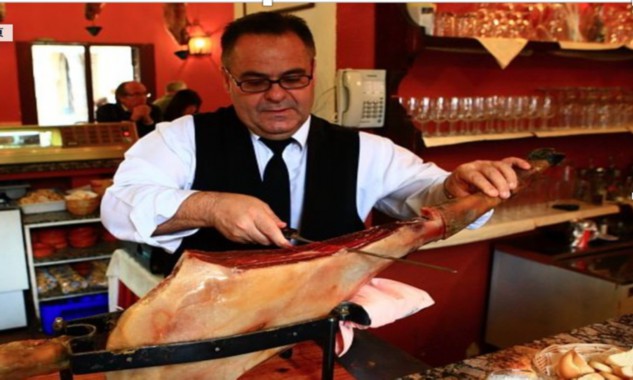
Once the curing time is up, take out the leg and rinse off the salt crust with warm water, paying special attention to the seams. Then thoroughly dry it with a clean towel. Next, refer to Spanish ham slicing tutorial to find a cool, ventilated spot and hang the leg to rest naturally for one to two months. This step allows the salt to penetrate evenly throughout the muscle.
Step Three: Air Drying and Maturation
This is the longest and most critical phase according to the Spanish ham slicing tutorial. Hang the ham in a cool, dry, and well-ventilated place, letting time work its magic. The ideal temperature is between 15-20°C, with humidity around 60-80%. This process requires at least 6 months, sometimes even over a year. You will notice the ham gradually drying and hardening, its color deepening, weight decreasing, and a unique aroma spreading out. Patience is key! Patience is key! Patience is key! Important enough to repeat three times.
Tasting and Summary
How to tell if the ham is ready? Use a thin skewer to pierce the thickest part, then smell it. If the aroma is rich and free of off-flavors, it’s ready. After slicing, the fat should be white, and the lean meat reddish, perfect for serving! Though it may not equal store-bought products, the sense of achievement from making it yourself is unmatched! I hope my sharing inspires you, and experienced friends are welcome to exchange tips and advice!