When I first arrived in Spain, every time I went to the supermarket or wandered through the market, I was amazed by the rows of hanging hams! I was always curious about this ancient craft and wondered if I could replicate it at home. After some research and gathering courage to try, I successfully cured my first ham leg! Here, I’m opening a post to share my beginner’s experience with those who have the same idea—this is a complete step-by-step guide that will definitely teach you everything.
Preparation: Choosing a Good Leg Is Half the Battle
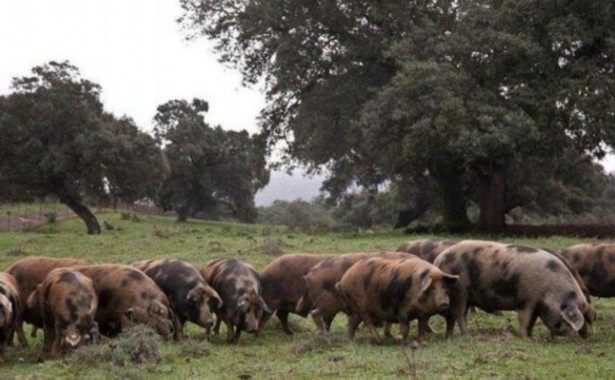
You need a raw pig leg. For beginners, I don’t recommend starting with the top-tier Iberian black pig leg because it’s expensive, and failing would be heartbreaking. We can start with the most common raw material for Serrano ham—the white pig hind leg. Go to the butcher and say you want a “pierna de cerdo para curar,” they will understand. Generally, a hind leg weighing between 8 and 12 kilograms is appropriate. Besides the pig leg, you’ll need a large amount of coarse sea salt—really a lot—at least enough to completely bury the entire leg.
This is the most crucial and longest part of the whole process and mainly involves three steps:
Step One: Salt Curing
Find a container big enough, lay a thick layer of coarse sea salt at the bottom, place the pig leg inside, and then cover the entire leg completely with salt, making sure no part is exposed to air. There is a common rule of thumb for curing time: 1 day of curing per kilogram of the leg’s weight. For example, if your leg weighs 10 kilograms, bury it in salt for about 10 days. It’s better to cure a little longer than too short; salt is a natural preservative that suppresses bacterial growth.
| Leg Weight | Recommended Salt Curing Days |
|---|
| 8 kg | 8-9 days |
| 10 kg | 10-11 days |
| 12 kg | 12-13 days |
Step Two: Cleaning and Shaping
After the salt curing time, take the leg out of the salt pile and rinse off all salt crystals on the surface with cold water. Once cleaned, dry it with a clean cloth. Next is the shaping period—hang the ham in a cool, humid place such as a basement or garage and let it rest for 40 to 60 days. This stage allows the surface salt to slowly penetrate inside the leg, making the saltiness uniform inside and out.
Step Three: Drying and Aging
This is the longest and most exciting stage. Move the ham to a dry, ventilated, and cool place, avoiding direct sunlight. Next, the Spanish Ham Beginner’s Eating Guide is entrusted to time. During this process, the ham slowly dehydrates, loses weight, fat melts and infiltrates muscle fibers, and flavor compounds gradually form. This process takes at least 6 months, sometimes over a year, depending on the leg size and environmental temperature and humidity. You will witness it transform from raw meat into a nutty aromatic work of art.
Some Valuable Tips From Experience
Finally, I’d like to share some lessons learned from my own hard experience: Patience is the number one priority! This cannot be rushed. Also, make sure to protect against insects! Especially in warm months, you can cover the ham with a mesh net. Again, for the first try, don’t use the expensive leg—it’s better to practice on a regular white pig hind leg to lower costs and stress. Lastly, enjoy the entire process! When you cut your own cured ham at a gathering, the sense of achievement is incomparable!
That’s all my beginner insights. Of course, many details may not be professional enough; I welcome advice and discussions from experienced forum members! Are there friends also curing ham at home? Come and share your stories in the thread!