Detailed Guide to Homemade Spanish Ham Experience Sharing
Recently, I saw many friends discussing how to make Spanish ham at home on a forum. As an “amateur player” who has personally tried it once, I’m sharing a detailed full Spanish ham process explaining the entire procedure and important notes. Everyone is welcome to discuss and add their experiences too~
1. Preparing Ingredients and Initial Processing
First is selecting the meat, usually pig hind legs are used, preferably fresh and with skin. I found good quality meat at the local market, each leg about 8-10 kg. Before curing, remove any fine hairs on the surface and trim it into a streamlined shape.
For home curing, controlling the weight between 5-8 kg is best because larger pieces require longer drying periods. Prepare coarse sea salt at roughly 1.5-2 kg per kilogram of meat, and have plastic wrap or breathable gauze ready.
2. Homemade Ham Curing Stage
Evenly cover the pork leg with sea salt, paying extra attention near the bone to avoid blind spots. Place it in a clean box, cover with plastic wrap, and store in an environment of 3-8°C. Generally, cure for 1 day per kilogram; for example, an 8 kg leg needs about 8 days. Check the surface daily and turn once to ensure even salt penetration. After curing, rinse the surface with clean water and drain.
Home refrigerators are suitable for curing, but large legs may require joint separation to save space. If possible, borrow a neighbor’s or small store’s cold room.
3. Ham Drying and Follow-up Processing
After curing, hang the pork leg to dry. Traditionally in Spain, this is done in ventilated, cool, shaded places such as balconies or basements. Maintain the environment at 10-15°C with about 70% humidity during the first month. After three months, gradually raise the temperature to 15-20°C with humidity dropping to 60%. Home drying usually requires at least 6-8 months; in northern regions with higher humidity, 12 months or more are necessary.
A slight white “mold” on the surface is normal. As long as there is no rot or foul odor, you can wipe it with a small amount of olive oil and wine. During drying, turn the leg once a month to prevent uneven stresses.
| Step | Time Reference |
|---|
| Curing | 8-10 days |
| Initial Drying | 1 month |
| Aging | 6-12 months |
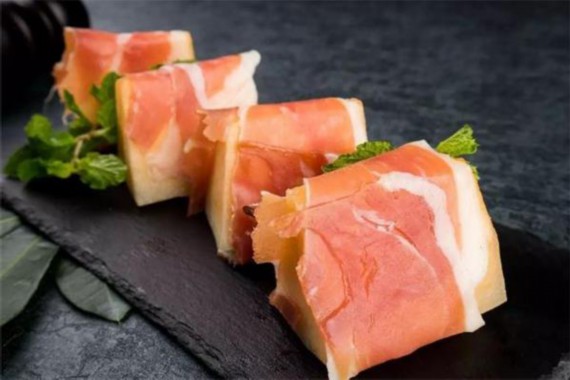
4. Storage and Slicing Tips
Once drying is complete, the ham can be hung directly or wrapped in cotton cloth for refrigeration. Before slicing, sharpen the knife well; slice thinly at a slant with 2-3 mm thickness being ideal for tasting. Cover unused parts with a clean cloth. If you don’t finish at once, slice only the exposed layer and seal the remaining part with fat for better preservation.
Tip: Smear the sliced surface with olive oil to prevent oxidation and drying. Vacuum packing at home keeps it fresher.
5. Reflections and Common Issues
The homemade Spanish ham process is lengthy but seeing the first glistening slice gives a great sense of accomplishment! Common issues include selecting quality meat, controlling room temperature and humidity, and dealing with surface blue mold. It is recommended to monitor the environment closely and feel free to discuss questions in this thread.
I hope my experience helps friends interested in trying this. Besides buying ready-made from Spanish ham full process, making it yourself is even more enjoyable! Everyone is welcome to share their own tips and improvements :D